
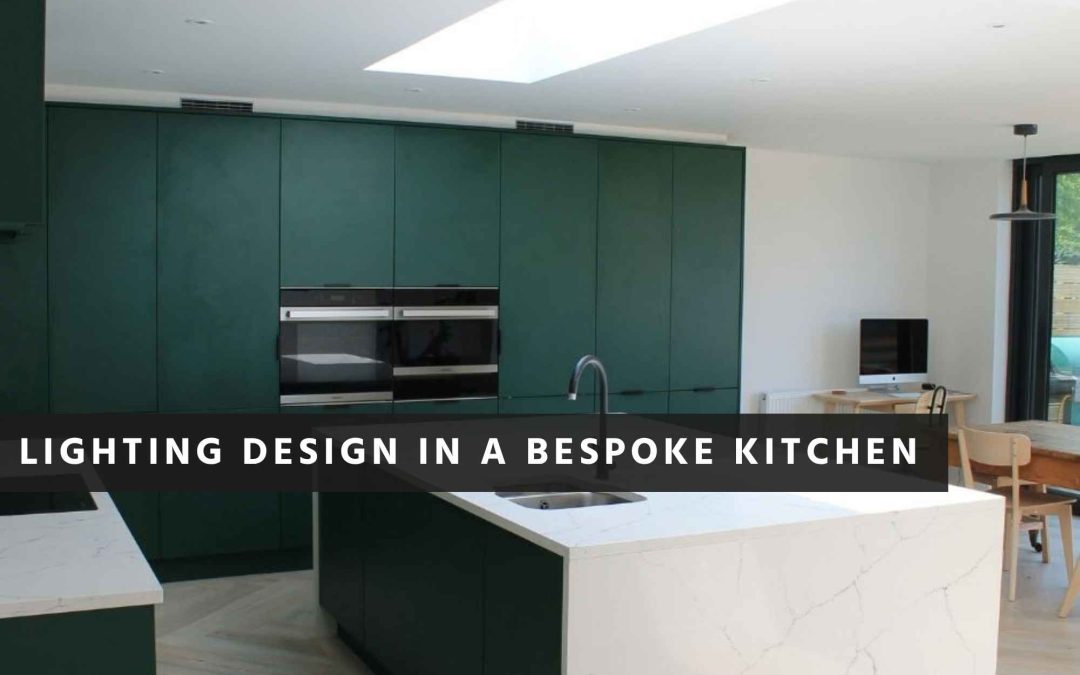
Bespoke kitchen lighting works on three layers: task, ambient and accent. Task lighting illuminates the worktop and hob where you use the kitchen. Ambient lighting sets the room mood from above. Accent lighting brings glass-fronted cabinetry, plinth lines and shadow detail to life in the evening. A kitchen with all three layers feels designed at every time of day; a kitchen with only one or two layers feels like the lights came after the cabinetry.
Kitchen lighting is often underspecified at the brief stage. The decisions look small and cost almost nothing in the budget, but they are wiring-stage decisions. Once first-fix electrics are in and the cabinetry has been hung, retrofitting a missed lighting circuit means chasing channels into finished plaster or running surface cable. Both are uneconomical and both look it.
The three layers of lighting in a bespoke kitchen
Task lighting sits closest to the work surface. The standard placement is under the wall units, illuminating the worktop directly below. The brightness needs to match the visual demand of food preparation: around 300 to 400 lumens per linear metre of worktop under-cabinet, with a colour temperature in the neutral white range. A pendant over the kitchen island serves the same purpose for the island worktop.
Ambient lighting sets the general level of light in the room from above. In a modern bespoke kitchen this is usually a combination of recessed downlights on a grid (around one fitting per square metre, depending on ceiling height) and decorative pendants over the island or dining table. The recessed downlights handle the working brightness; the pendants handle the social character.
Accent lighting brings depth to the room. In-cabinet lighting picks out glassware behind glazed doors. Plinth lighting washes the floor with a low glow that lets the cabinetry appear to float just above the ground. Shelf-light strips at the back of an open shelf give depth to whatever sits on the shelf. None of these are working lights. All of them are what makes the kitchen feel composed in the evening when the overheads dim.
Task lighting: under-cabinet and over-island
Under-cabinet lighting is the layer you use every time you cook, which makes it worth thinking about early. The standard delivery is an LED strip recessed into a routed channel along the underside of the wall unit, or an aluminium profile mounted on the underside. Both hide the source so you only see the light and the fitting stays out of view.
LED strip works in two basic forms. Continuous-output strip gives even illumination across the full length. Higher-density strip (with more LEDs per metre) gives a brighter, more pin-point feel. For a bespoke kitchen the high-density strip in a diffused profile is the standard choice. Cheaper builds use puck lights instead (small round fittings spaced along the underside), which leave dark patches between the pucks and date faster.
Over an island, pendants do the task lighting job. The standard placement is two or three pendants centred over the working strip of the island, hung 750mm to 900mm above the worktop. Below 750mm and the pendants get in the eyeline; above 900mm and the light spreads too thin to be useful. For a 2,400mm island, two pendants at 800mm centres works. For a 3,000mm island, three pendants at 750mm centres works.
Our piece on kitchen for entertaining covers the broader lighting layers across an open-plan kitchen-living space.
In-cabinet, plinth and accent lighting
In-cabinet lighting sits on the inside top edge of glazed wall units. The fitting is hidden behind the rail of the carcass and the light washes downward onto whatever is on the shelves. The colour temperature for in-cabinet lighting is warmer than the task layer (around 2700K) because the purpose is mood. Task lighting carries the working brightness.
Plinth lighting runs along the base of the cabinetry, recessed into the underside of the plinth so the source is invisible. The light washes onto the floor in a continuous strip. The effect is most visible at the perimeter of the room in the evening, when the floor reads as a separate surface from the cabinetry above it.
A short LED strip along the back of an open shelf, or behind a glazed splashback, gives a third accent layer where the room calls for it. None of these accent layers is essential. Each one earns its place in a particular room where the cabinetry and the geometry support it.
For more on the joinery side of how these fittings hide inside the cabinetry, our piece on bespoke kitchen details covers the build-side considerations.
Colour temperature, dimming and circuits
Colour temperature is measured in Kelvin. 2700K is warm white, the standard for residential ambient and accent layers. 3000K is neutral-warm, often used for task lighting in kitchens that want consistency with the rest of the home. 4000K is neutral white, more clinical, suited to dedicated task lighting in a working kitchen where colour accuracy matters. 6500K is daylight and almost never appropriate in a domestic kitchen.
For a bespoke kitchen the standard is 2700K for accent and ambient layers and 3000K for task lighting. Mixing 2700K and 4000K in the same room produces a visibly inconsistent colour mood and is one of the easiest lighting mistakes to make.
Dimming is non-negotiable in a properly designed kitchen. Each layer should sit on its own dimmer circuit so the room can shift from chopping-vegetables brightness at six in the evening to dinner-and-conversation brightness at nine. A typical bespoke kitchen has four to six dimmer circuits: task, ambient downlights, pendants, in-cabinet accent, plinth accent, and sometimes a separate switching for the wider kitchen-living space beyond.
The dimmer protocol matters. TRIAC dimming is the cheap default and works on most domestic LEDs. 0-10V dimming is smoother and better at low-light levels, suited to premium installs. DALI dimming is the control-system protocol for the highest tier, used when the kitchen is part of a wider whole-home lighting system. Specifying the dimming protocol at the wiring stage is what stops the kitchen flickering at low brightness six months in.
Wiring stage: when to decide
Kitchen lighting decisions sit between the structural stage and the first-fix electrics. The relevant sequence is:
- Structural work finished, walls and ceilings ready for first-fix.
- Lighting plan signed off (circuits, fittings, dimmer types, positions of pendants and in-cabinet drops).
- First-fix electrics: the electrician chases channels, runs cable to every fitting position, leaves tails at each one.
- Cabinetry installed. The fitter routes the channels into the underside of the wall units for the LED strip during install, while the cabinetry is being scribed.
- Second-fix electrics: the electrician terminates and tests every fitting on every circuit.
Missing the lighting plan at step 2 often leads to compromised lighting in a finished kitchen. Retrofitting at step 5 means cabinet-mounted surface fittings, visible cable runs, or chased plaster after the painters have been in.
UK Part P building regulations apply to any rewiring in the kitchen, which means the electrician needs to be registered with a Competent Person Scheme or the work has to be notified through Building Control. The work itself follows the standards maintained by bodies like NICEIC, the UK electrical registration scheme.
Smart switching and control systems
Smart switching adds two things: scenes (a single button press that sets multiple circuits to specific levels) and remote or app control. Whether it earns its place depends on how the household uses the kitchen.
In a kitchen-living space that hosts regularly, scene control is worth it. A cooking scene with task lighting at 100%, pendants at 60% and accent layers off transitions to a dinner scene with pendants at 40% and accent layers on, all from a single switch press. Doing the same with five individual dimmer switches in the room means everyone reaches for switches at the start of the evening.
In a smaller kitchen used by one or two people, smart switching is overkill. The dimmers carry the lighting plan well enough and the control-system installation adds cost without proportional value.
The premium control systems (Lutron RA2, Hamilton Mercury, Crestron) integrate with wider home automation: blinds, heating, music. If the kitchen sits inside a wider home-automation brief, the kitchen lighting joins that system.
For the appliance side that often shapes the lighting routing decisions, our piece on smart kitchen appliances covers the integration question.
Where to start
Lighting in a bespoke kitchen is a wiring-stage decision that lands before the cabinetry. The three layers (task, ambient, accent), the dimmer protocol, the colour temperature consistency, and the number of circuits all have to be on the drawing before first-fix electrics. The cost of getting it right at that stage is modest. The cost of retrofitting later is uneconomical.
If you are planning a kitchen in Newcastle, Northumberland or Tyne and Wear and want lighting included in the wiring plan from the start, explore our bespoke kitchen design and installation service to see how we approach the lighting plan from the first meeting.